WebGPU学习(二): 学习“绘制一个三角形”示例
克隆webgl-samplers Github Repo到本地。
(备注:当前的version为0.0.2)
实际的sample代码在src/examples/文件夹中,是typescript代码写的:
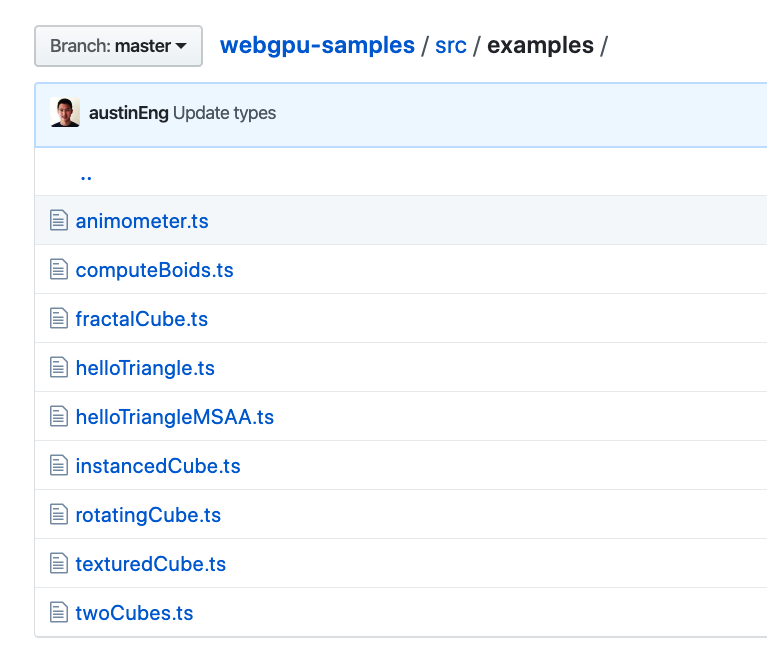
打开helloTriangle.ts文件,我们来看下init函数的内容。
首先是shader代码 const vertexShaderGLSL = `#version 450 const vec2 pos[3] = vec2[3](vec2(0.0f, 0.5f), vec2(-0.5f, -0.5f), vec2(0.5f, -0.5f)); void main() { gl_Position = vec4(pos[gl_VertexIndex], 0.0, 1.0); } `; const fragmentShaderGLSL = `#version 450 layout(location = 0) out vec4 outColor; void main() { outColor = vec4(1.0, 0.0, 0.0, 1.0); } `;这里是vertex shader和fragment shader的glsl代码。
(webgpu支持vertex shader、fragment shader、compute shader,这里只使用了前面两个)
“#version 450”声明了glsl版本为4.5(它要放在glsl的第一行)
第2行定义了三角形的三个顶点坐标,使用2维数组保存(每个元素为vec2类型)。因为都在一个平面,所以顶点只定义了x、y坐标(顶点的z为0.0)
第5行的gl_VertexIndex为顶点序号,每次执行时值依次为0、1、2(vertex shader被执行了3次,因为只有3个顶点)(具体见本文末尾对draw的分析)
第9行是fragment shader,因为三角形为一个颜色,所以所有片段的颜色为同一个固定值
然后我们继续看下面的代码 const adapter = await navigator.gpu.requestAdapter(); const device = await adapter.requestDevice(); // 准备编译glsl的库 const glslang = await glslangModule(); // 获得webgpu上下文 const context = canvas.getContext('gpupresent');第4行的glslangModule是import的第三方库:
import glslangModule from '../glslang'; 继续往下看 // 定义swapbuffer的格式为RGBA8位的无符号归一化格式 const swapChainFormat = "bgra8unorm"; // @ts-ignore: const swapChain: GPUSwapChain = context.configureSwapChain({ device, format: swapChainFormat, });@ts-ignore是typescript用来忽略错误的。因为context的类型是RenderingContext,它没有定义configureSwapChain函数,如果编译该行typescript会报错,所以需要忽略错误。
第5行配置了swap chain。vulkan tutorial对此进行了说明:
swap chain是一个缓冲结构,webgpu会先将内容渲染到swap chain的buffer中,然后再将其显示到屏幕上;
swap chain本质上是等待呈现在屏幕上的一个图片队列。
WebGPU有两种pipeline:render pipeline和compute pipeline,这里只用了render pipeline
这里使用render pipeline descriptor来创建render pipeline,它的定义如下:
dictionary GPUPipelineDescriptorBase : GPUObjectDescriptorBase { required GPUPipelineLayout layout; }; ... dictionary GPURenderPipelineDescriptor : GPUPipelineDescriptorBase { required GPUProgrammableStageDescriptor vertexStage; GPUProgrammableStageDescriptor fragmentStage; required GPUPrimitiveTopology primitiveTopology; GPURasterizationStateDescriptor rasterizationState = {}; required sequence<GPUColorStateDescriptor> colorStates; GPUDepthStencilStateDescriptor depthStencilState; GPUVertexStateDescriptor vertexState = {}; unsigned long sampleCount = 1; unsigned long sampleMask = 0xFFFFFFFF; boolean alphaToCoverageEnabled = false; // TODO: other properties };render pipeline可以设置绑定的资源布局、编译的shader、fixed functions(如混合、深度、模版、cullMode等各种状态和顶点数据的格式vertexState),相对于WebGL(WebGL的一个API只能设置一个,如使用gl.cullFace设置cull mode),提升了性能(静态设置了各种状态,不需要在运行时设置),便于管理(把各个状态集中到了一起设置)。
分析render pipeline descriptorvertexStage和fragmentStage分别设置vertex shader和fragment shader:
使用第三方库,将glsl编译为字节码(格式为SPIR-V);
source和transform字段是多余的,可以删除。
因为shader没有绑定资源(如uniform buffer, texture等),所以第2行的bindGroupLayouts为空数组,不需要bind group和bind group layout
温馨提示: 本文由Jm博客推荐,转载请保留链接: https://www.jmwww.net/file/web/41503.html

![[转]Node.js中package.json中^和~的区别](/uploads/allimg/200519/054J34453_lit.png "[转]Node.js中package.json中^和~的区别")